How to Use Hatching and Cross-Hatching Techniques for Realistic Drawings
Have you ever stared at a blank piece of paper, wanting to create a drawing that pops off the page with realism? Shading is the secret ingredient that takes your sketches from flat to fantastic! Today, we’ll delve into two fundamental shading techniques: hatching and cross-hatching.
These aren’t fancy words – they’re simply ways to use lines to create shadows, highlights, and depth in your drawings. So, grab your pencils and get ready to take your artistic skills to the next level!
Why is Shading Important?
Imagine a world without shadows. Everything would look flat and lifeless, right? Shading breathes life into your drawings by creating a sense of dimension and realism. It helps us understand the form of an object, where the light source is coming from, and adds a touch of texture to your artwork.
What is Hatching?
Hatching is a shading technique where you use closely spaced, parallel lines to create shadows and tones. Think of it like stripes on a zebra, but instead of black and white, the lines create different shades of gray.
How Lines Affect Shade Value
The key to mastering hatching lies in understanding how lines affect the darkness or lightness (value) of an area.
Here’s the trick:
- More Lines = Darker Shade: The closer your lines are spaced together, the darker the area appears. Imagine a rainstorm – heavy rain creates a darker, more covered surface.
- Fewer Lines = Lighter Shade: Conversely, wider gaps between lines result in a lighter value. Think of a light drizzle – the ground is still visible through the sparse drops.
Tips for Effective Hatching:
- Follow the Form: Don’t just draw straight lines across your object. Let the lines follow the curves and bends of your subject for a natural look. Imagine hatching on a round sphere – the lines would curve slightly to follow the roundness.
- Line Variation: Experiment with different line types! While straight lines are classic, try incorporating curved lines for a more dynamic feel.
- Gradation: Want to create a smooth transition from light to dark? Start with widely spaced lines for the lighter areas and gradually bring the lines closer together as you move towards the shadows.
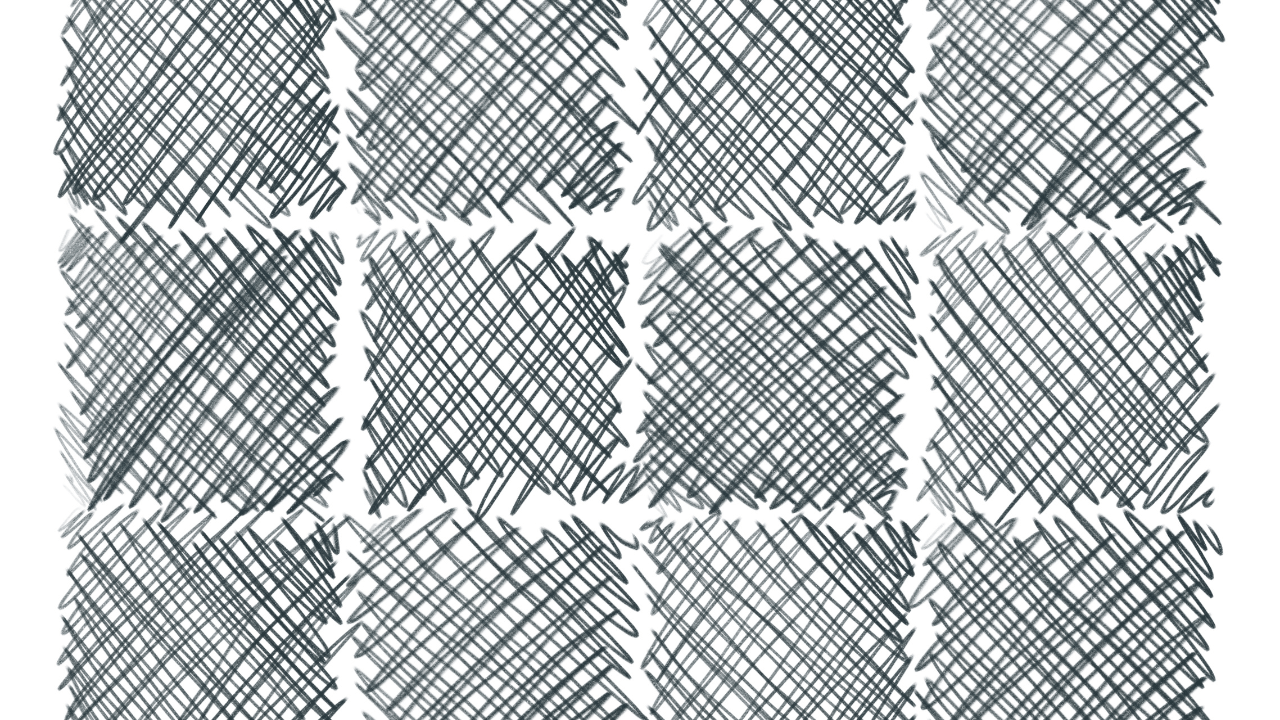
What is Cross-Hatching?
Cross-hatching takes hatching a step further. It’s where you layer sets of hatching lines in different directions to create even darker and richer shadows. Think of it like a woven basket – the multiple layers create a sturdier structure and a deeper shade.
How to Use Cross-Hatching Effectively:
- Start with Hatching: Begin by applying a base layer of hatching lines.
- Layering Lines: Once you have your initial layer, add another set of lines on top, but this time in a different direction. Popular choices are perpendicular (90 degrees) or diagonal to the first layer.
- Density and Direction: Experiment with the density and direction of your lines. Denser cross-hatching creates a much darker shade, while using lighter lines with more space between them creates a more subtle shadow. You can even try using different angles for the second layer to achieve interesting artistic effects.
Hatching vs. Cross-Hatching: When to Use Each?
Now that you know both techniques, you might wonder which one to use when. Here’s a quick guide:
- Hatching: Use hatching for subtle shading effects, highlights, or creating a sense of texture. For example, hatching lines across a cylinder can create a metallic look.
- Cross-Hatching: Cross-hatching is your go-to technique for creating deeper shadows, adding volume to your drawings, and defining form.
Practice Makes Perfect!
The best way to master hatching and cross-hatching is to grab your pencils and start practicing! Here are some ideas:
- Simple Shapes: Start with basic shapes like spheres, cubes, and cones. These allow you to focus on understanding how line direction and density affect shading, without getting overwhelmed with complex forms.
- Still Life Objects: Once you’re comfortable with basic shapes, move on to everyday objects like fruits, cups, or books. These offer more intricate forms to practice shading techniques on.
Remember: Don’t be afraid to experiment! Hatching and cross-hatching are not about perfect lines, but about creating a sense of depth and realism. The more you practice, the more comfortable you’ll become, and the more expressive your shading will be.
Bonus: Choosing the Right Pencil
The type of pencil you use can also affect your hatching and cross-hatching results. Here’s a quick tip:
- H for Lighter Tones: Use harder pencils (H, 2H) for lighter hatching and creating highlights. These pencils leave a fainter mark, allowing for more control over lighter values.
- B for Darker Tones: Softer pencils (B, 2B) are ideal for creating darker shadows with cross-hatching. They deposit more graphite, allowing you to build up darker tones quickly.
Conclusion
Hatching and cross-hatching are powerful tools for any aspiring artist. By understanding how line direction, density, and layering affect shade value, you can add depth, dimension, and realism to your drawings.
Remember, practice is key! So, grab your pencils, experiment with these techniques, and watch your artwork come to life!